Debt Management User Guide
Table of Contents
Accessing Gateway Debt Management
As an authorized user of the Indiana Gateway for Government Units, you will have a “Username” and “Password” that will allow you to access the program. Your “Username” is the e-mail address on file with the Department of Local Government Finance (DLGF). The DLGF will assign an initial password, which should be then be changed by you to something unique and confidential. You will be responsible for all information entered into Gateway under your Username and Password. If you do not have a Gateway account, please contact
gateway@dlgf.in.gov.
Web Address (URL):
https://gateway.ifionline.org/login.aspx
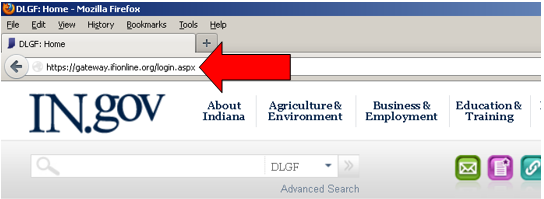
To access the Gateway program, open your internet browser and type
https://gateway.ifionline.org/login.aspx into the browser, and then hit “Enter” on your keyboard.
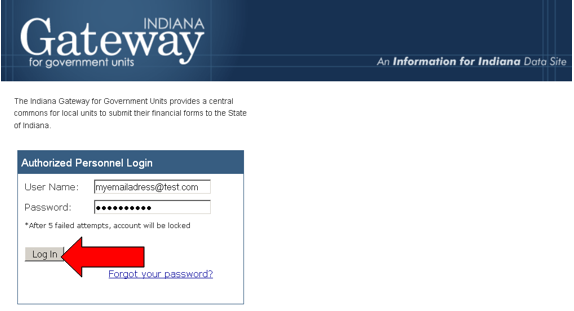
The first page you will see is the login page. If you know your username (which is your email address) and your password, you may enter them in the login box and click “Log In.”
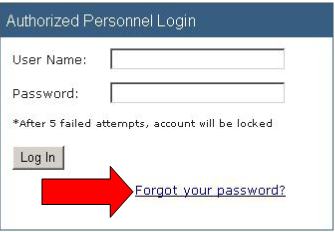
If you have forgotten your password, you may click the “Forgot your password?” link. This will direct you to enter your username (which is your email address).
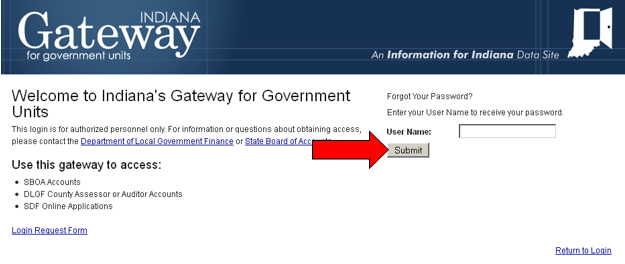
Upon entering your username and clicking “Submit,” a new password will be emailed to you at the email address serving as your username.
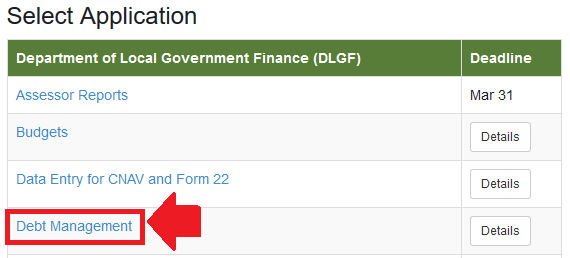
After you sign in, you will be asked to select what you would like to do in Gateway. Some of your options include Budgets, Debt Management and the Annual Financial Report. Choose the “Debt Management” option to proceed.
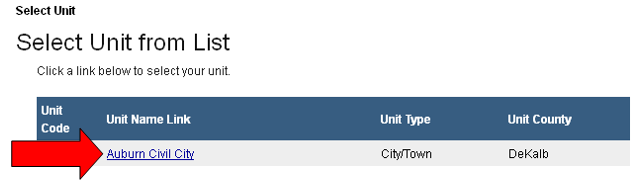
Once you log in, a list of units that have been assigned to your account will appear. For most users, this will be only your unit. Some units may appear if you have been given permission to enter information on behalf of another unit.
If you would like to learn more about the statue that establishes this report, you may research Indiana Code 5-1-18 or click on the following link: http://www.in.gov/legislative/ic/code/title5/ar1/ch18.html.
Annual Affirmation Statement
Gateway’s Debt Affirmation is an annual report that may only be viewed by authorized users with submit access to the Debt Management application. All debt submitted through Gateway will remain and will not need to be reentered. Users will want to make sure any new debt is reported within 30 days of incurring the debt and any retired debt is marked as retired on the Select Unit Menu. Other sections of this guide can walk you through doing so step-by-step, but if all the information in Debt Management is complete and accurate, or if your unit does not have any debt, you can continue.
By March 1st of each year, the authorized submitter of the unit will need to log in and sign a statement affirming that the information in Gateway Debt Management has been thoroughly and accurately reported for all debt reporting requirements. Even if a unit does not have any debt, the unit is still required to submit the Debt Affirmation.
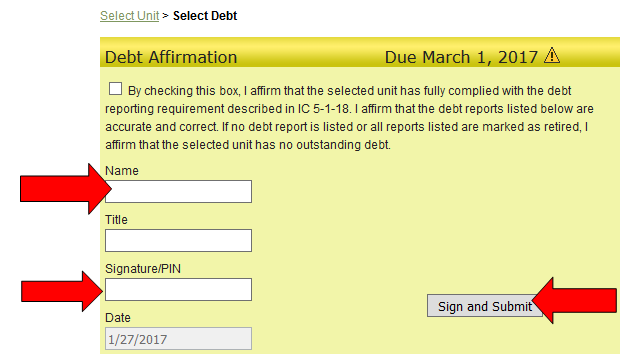
After you have selected your unit, you will be taken to the Select Debt page. At the top will be the “Debt Affirmation” section along with a list of any reported debts below. Once you are ready, you may check the box adjacent to the affirmation statement.
Once checked, you will enter your name, title, four digit PIN, and click the “Sign and Submit” button to finalize the submission of the annual affirmation requirement. Please note that in order to submit the affirmation statement, there can be no unsubmitted reports. Unsubmitted reports can be spotted by the delete option to the right of the retired check box.
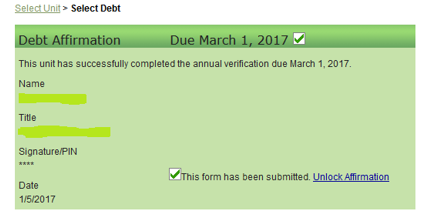
Once submitted, the section will turn green to indicate that it has been submitted.
Unlocking the Debt Affirmation: If you happen to later uncover that not all reporting requirements have been met, or if your Budget Field Representative recommends that the Debt Affirmation be unlocked, please have an authorized user email gateway@DLGF.in.gov and request that the Debt Affirmation be unlocked. Please note that the Debt Affirmation will need to be resubmitted once your debt is thoroughly and correctly reported.
How to Verify Submission: The Debt Affirmation is designed to allow authorized users with submit access to the Debt Management application to easily check the submission status of the Debt Affirmation. If the Debt Affirmation is highlighted in yellow, then it has not been submitted. If the Debt Affirmation is highlighted in green, then it has been submitted. In addition, it will say "This unit has successfully completed the annual verification..." and "This form has been submitted".
General Navigation
The form is divided into eight sections. At the bottom of each section, you have the option to save your work, to proceed to the next section, or to go back to the previous section.
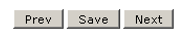
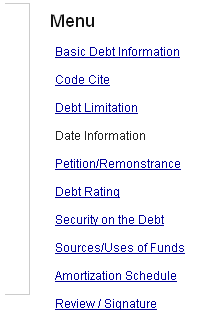
Once you pass the first screen, a menu on the right-hand side of the screen displays the different sections of the form. This gives you a second option for navigating among screens.
Be sure to click the “Save” button at the bottom of the form frequently to ensure that your information is not lost. Note that clicking “Next” also saves the information you have already entered.
Required Fields
Although the Department strongly recommends units to enter as much information as possible, there will be certain fields that are either not applicable or that the information cannot be located for debt that was issued in the past.
Be sure to watch for red asterisks (*), as these indicate required fields that must be completed in order to submit this report. The red asterisks will be present throughout the user guide and the debt report in Gateway.
The final part of this section asks about your unit’s debt limitation. The Indiana Constitution prohibits a unit from becoming indebted beyond two percent of its assessed value. However, certain types of debt are not subject to this constraint. This portion requires you to indicate whether or not this debt is subject to the Constitutional limit. If you indicate “No,” no further action is required.
Generally, a debt is subject to the debt limit if it is backed by property tax, income tax, or is a general obligation of the issuer.
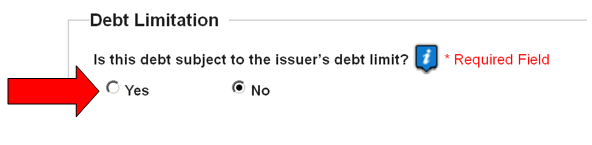
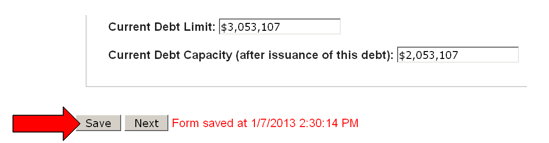
If you indicate “Yes,” then you may enter the name of the applicable issuer (in other words, the unit of government for which the constitutional or statutory limit is impacted), this issuer’s current debt limit, and the current debt capacity after the issuance of the debt.

Now that this page of the debt report is compete, you will want to save the information entered by clicking ”Save” on the bottom left-hand side of the page. Now that the page is saved, click “Next” to continue to the Date Information section of the report.
Petition/Remonstrance
The next screen collects information about petition/remonstrance and referendum processes.
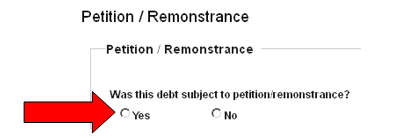
First, indicate whether the debt is subject to petition/remonstrance requirements. (These requirements are outlined in IC 6-1.1-20-3.1). If you select “No,” you may proceed to the next question.
If you select “Yes,” another question will appear asking whether the petition/remonstrance was conducted.
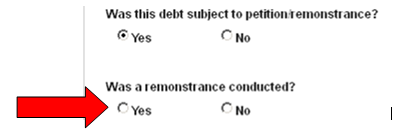
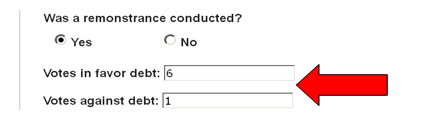
If you select “No,” you may proceed to the next question. If you select “Yes,” boxes will appear for you to indicate the votes in favor and the votes against.
Next, indicate whether the debt is subject to a referendum. (These requirements are outlined in IC 6-1.1-20-3.2.) If you select “No,” you may proceed to the next question.
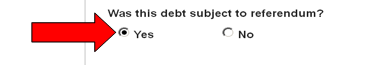
If you select “Yes,” boxes will appear for you to indicate the votes in favor and the votes against.

Bond Rating
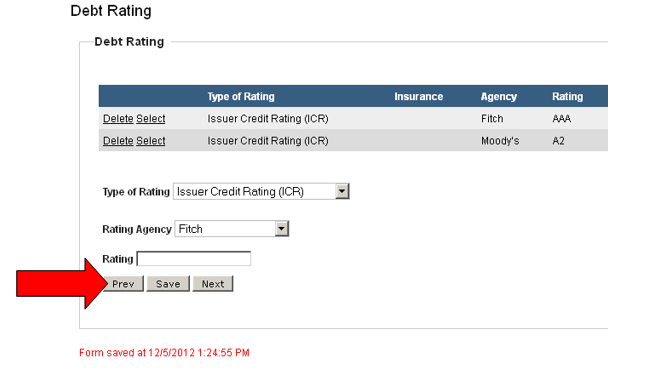
The next screen collects the bond rating(s) applicable to the debt.
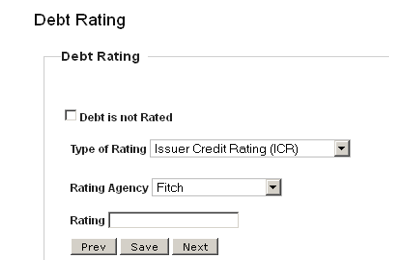
First, use the drop-down menu to indicate the type of rating.

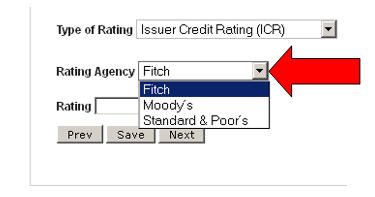
Use the second drop-down menu to indicate the issuing agency: Moody’s, Fitch, or Standard & Poor’s.
Use the last field to enter the debt’s rating. Then click “Save.”
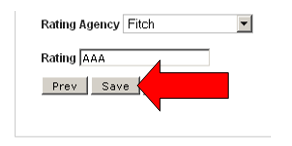
Once you have clicked “Save,” the rating will display above the data entry fields.

To edit the rating, click “Select” and change the data entry fields that appear below, then click “Update.”

To delete the rating that was entered in error, click “Delete.”
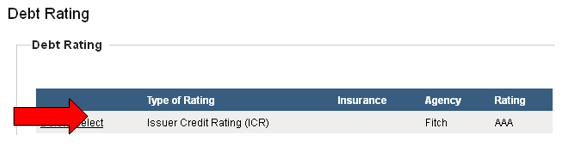
To add an additional rating, simply fill in the data entry fields for the second rating, click “Save,” and the second rating will appear underneath the first.
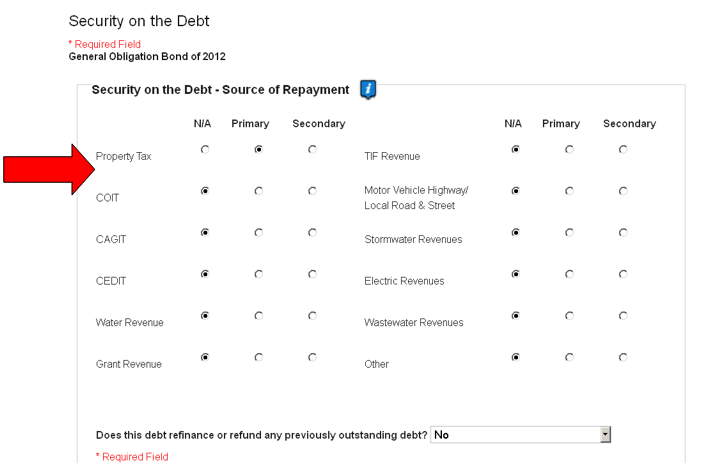
Security on the Debt
The next screen requests information about the security on the debt. Most debts have a primary and a secondary source of repayment. Simply click on the circle next to the applicable selection to indicate the primary and secondary sources of repayment. For all others, the circle for “N/A” should be selected. A primary source of repayment is required.
If you indicated on the initial screen that this is a lease, then you will be asked to provide the name of the lessor in the next box. If this is not a lease, this question will not appear.
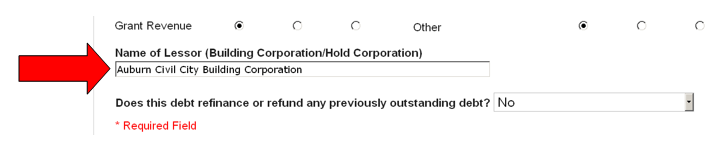
The next question asks whether this debt is partially or fully refunding an existing loan. Use the drop-down menu to make your selection.

If you indicate that this debt is refunding another, Gateway presumes that the debt being refunded has already been reported through Gateway. When you indicate that debt is refunding another, a list will appear of all debt currently reported through Gateway. Please select the debt that is being refunded if applicable.

Sources and Uses
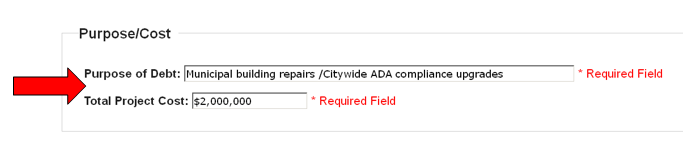
The next screen collects information about the purpose for the issuance of the debt and the overall financial information for the project as a whole.
In the first box “Purpose of the Debt”, please use a short phrase or sentence to provide an overview of why the debt is being issued and then indicate the total project cost in the box labeled “Total Project Cost.” The total project cost should be the amount being financed from all sources, not just the proceeds of the debt.
The next section asks you to provide all the sources of funds that will support this project. This should include the proceeds from this debt as well as any other financing sources (e.g., local option income tax, grants, etc…). The total of all items entered into this box should equal the total project cost indicated above.
To add a source, please enter a description into the first field and the dollar amount into the second, then click “Add Source.”
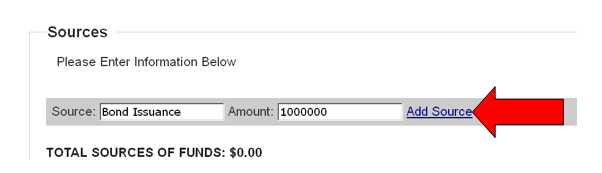
The information will be posted to the chart above and a new blank box will appear underneath.

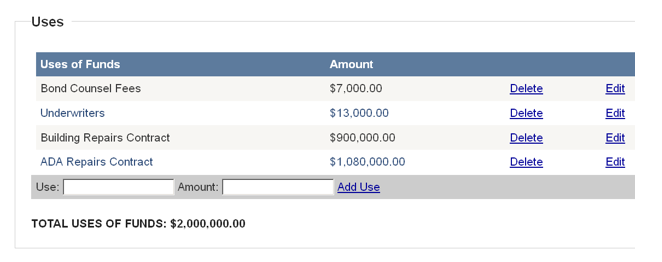
Continue adding lines until all sources have been added. To delete a source, click the “Delete” link to the right of the information.

To
edit a source, click the “Edit” link, alter the information, then click
“Update.”

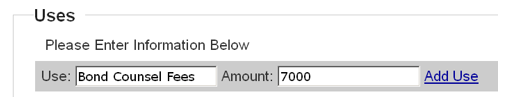
The next task is to detail the uses of the funds that are being raised to support the project. This should include all components of the project. The total of all lines entered into this box should equal both the project cost indicated above and the sum of the lines entered into the “Sources” section.
The entry of “Uses” items functions exactly the same as the addition of “Sources” line items. Please be sure to provide an itemized cost of issuance along with project expenditures. Enter a description and amount for each use that is added.
Once you are done, the total uses, total sources, and project cost should all be the same amount.
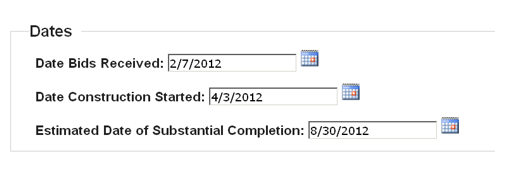
As a final step on this screen, you will indicate dates relevant to the project: the date the initial bid was received, the date the construction began, and the date of substantial completion. You may click on the calendar icon and select the date from the pop-up calendar, or you may enter the date directly into the box using the MM/DD/YYYY format.
Amortization Schedule
The final screen for data entry collects the amortization schedule. You have two options for completing this section. First, you may enter the information directly through the screen. Alternatively, you may upload a Microsoft Excel file containing the information.
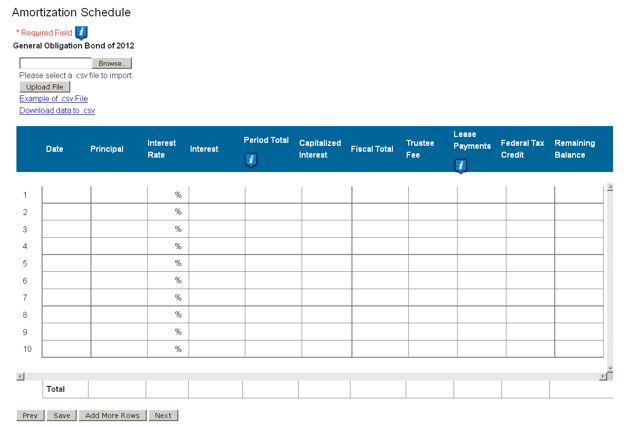
To enter the data directly, simply type the relevant information into the boxes on the chart. You may use the “Tab” key to proceed to the next box. Please be sure to save often to avoid the chance of being logged out for inactivity.
You will want to include all payments from the first to the projected last. The one exception is a State Revolving Fund loan that is has not yet had its draws completed, in which you would list the payments until the most recent payment.
Leases
At a minimum, for all debts classified as leases you will want to be sure to include the date, principal, interest, lease payment, and remaining balance amounts in the amortization schedule.
All Other Types of Debt
At a minimum, you will want to be sure to include the date, principal, interest, period total and remaining balance amounts in the amortization schedule. You will also want to be sure to enter any other applicable fields as well, such as trustee fees.
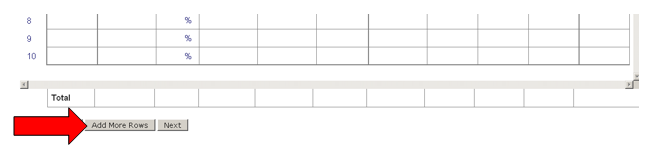
If you need more rows, click the “Add more rows” button at the bottom of the chart. A new row will appear within the chart.
Be sure to click “Save” once all data have been entered.

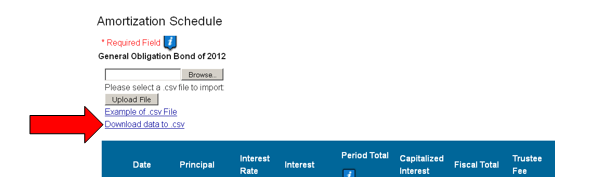
If you wish to download the data you have entered to a Microsoft Excel file, click the link that says “Download data to .csv.”
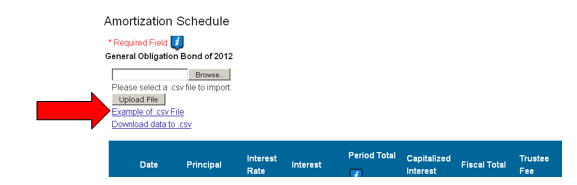
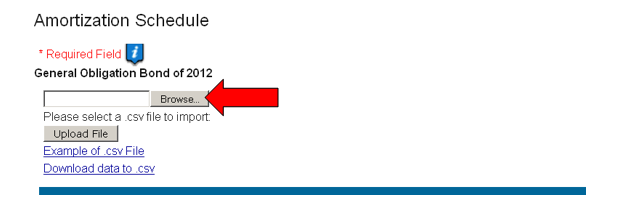
To use the Excel upload option, first click on the link that says “Example of .csv file” and save the example file to your computer.
You may download the “Amortization Schedule Upload Template” directly from the DLGF website (http://in.gov/dlgf/9108.htm). Just click “Amortization Schedule Upload Template” under “Upload Specs”.
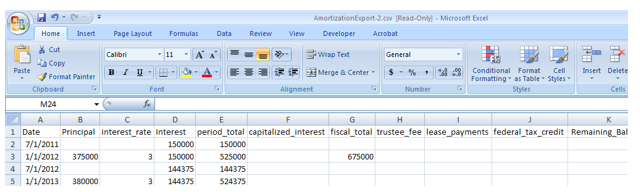
The Excel file that saved will be pre-populated with example data as shown below. You would enter your amortization schedule in the same format, being sure to remove the example data. Please note that once you complete the amortization schedule in Excel, it should be in the same format as the example amortization schedule that was downloaded.
You will also want to note that the interest rates are already in percents. For example: you will want to enter a 3 percent interest rate as “3” not “0.03.”
Once you have completed the Excel file, ensure that you have saved all the changes to the file. Then, click “Browse.”
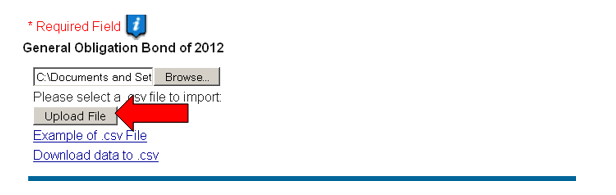
This will allow you to browse your computer and indicate where the Excel file has been saved. Once you have specified the file path, click “Upload File.”
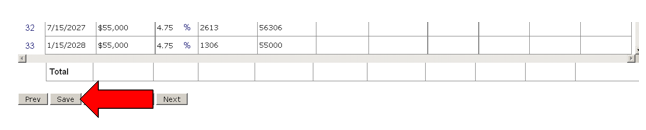
 It is very important that you click “Save” after uploading the file. The upload populates the chart, but does not save the data.
Review/Signature
The final screen presents a compilation of all the data entered on the previous screens. Please review this data for accuracy before submitting the form.
Underneath the summary you will find an electronic signature box on the left. Only the user with submission rights will see the signature box. The signature box will be invisible to users with edit or read-only rights.
To sign the form, first type your name and title into the signature box. After that, you will need to enter a four-digit PIN code. This PIN code will be sent to the person with submission rights via email. You may contact the DLGF at
gateway@dlgf.in.gov in the event that you have lost or not received a PIN code. The last field in the signature panel is pre-populated with the day’s date.

Once you have added all the necessary information into the signature, you may save the signature information by clicking the “Save Signature” button at the bottom of the second column.
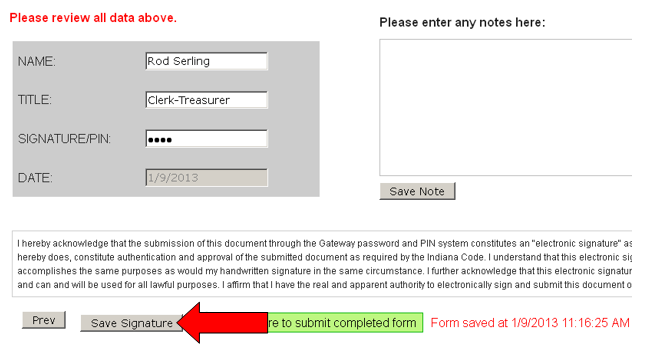
As long as all the required fields have been completed, the form can now be submitted. For information on submitting the form, see the next section “Submitting the Form.”
Before you submit, you may want to provide some comments with your debt report. The right side of the bottom of the form contains an area to provide any additional notes or details not indicated on the previous screens. Please type any notes needed to explain the contents of this debt report.
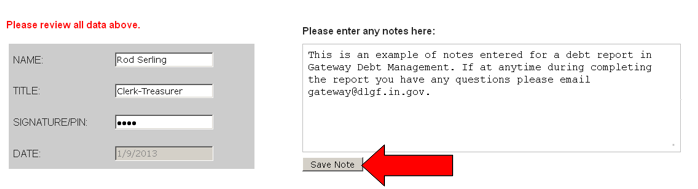
Click the “Save Note” button to save any data entered in the notes section.
Retiring a Debt
The Department requests that past debt remain in the system, but marked as retired. If a debt is being retired (in other words, paid in full), then you should click on the box that says “Retired.” In order to remove the check marking a submitted debt as "retired", an authorized user with "edit" or "submit" access to the Debt Management application may simply check the box under the "Retired" column next to the applicable debt.
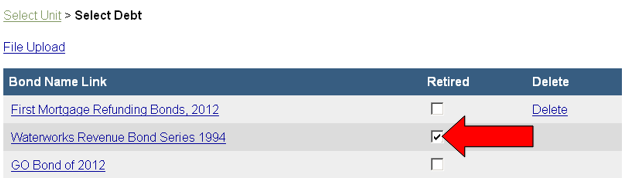
Please Note: A submitted debt does not need to be unsubmitted in order to mark it as "Retired". In fact, the debt must remain submitted in order to mark it as retired. A retired debt will still show in the Debt Management application, it will just be marked as "Retired", indicating that it has been paid in full.
Correcting a Debt Report
There may come a time when you need to amend or edit a previously submitted debt report, but submitted debt reports cannot be edited. In the case that you need to amend or edit a submitted debt report, the Department will simply need an email sent to
gateway@dlgf.in.gov stating which unit you are with and the debt name of the report that you would like to be unsubmitted to allow you to make the necessary changes. An easy indicator of whether or not a debt is currently submitted is the presence of the delete option. Any submitted reports cannot be deleted. Once all necessary changes have been made simply resubmit the report via the Review/Signature page.
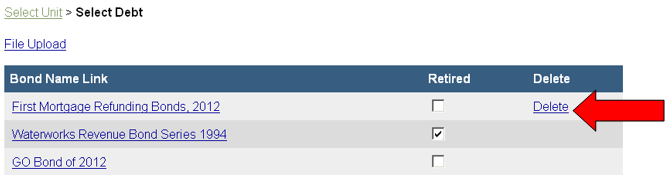
Deleting a Debt Report
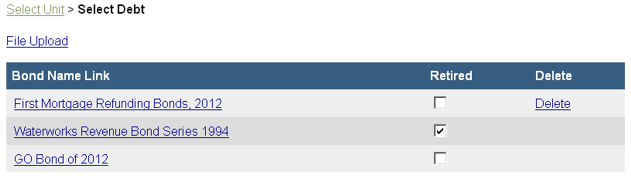
The Select Debt menu displays all debt that is entered in Debt Management. You may notice that a debt report has a delete option on the right-hand side. Any debt that has not been submitted may be deleted, but this should be used
only if the debt has been entered in error. To delete a debt that was entered in error, click the “Delete” option to the right of the debt name.
Procedure for Debt Management Unlock Requests
The Department requests that, whenever possible, an authorized user please email all Debt Management unlock requests to gateway@DLGF.in.gov so that we have the request in writing.
In order for a submitted debt in the Debt Management application to be unlocked, the request must come directly from either the authorized submitter, or an authorized user with a valid DLGF Limited Delegation of Authority (LDA) form on file granting that user "edit" or "submit" access to the Debt Management application for that unit. For assistance with becoming an authorized user of any of the DLGF Gateway applications, please email gateway@DLGF.in.gov and we would be happy to assist!
Debts are unlocked individually. In order for us to unlock a submitted debt, we request that an authorized user please email gateway@DLGF.in.gov with the exact name of the debt, as it is listed in the Debt Management application, in which the unit would like to be unlocked/unsubmitted.
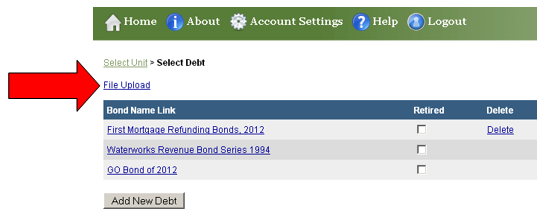
File Upload
The debt report also has the “File Upload” function that is used to upload documents into Debt Management and link them to a certain debt. On the main “Select Debt” screen click on “File Upload.”
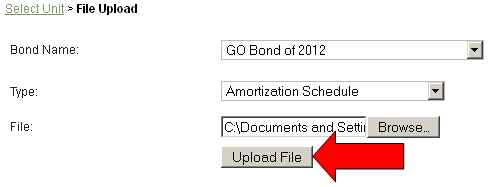
Now you will notice the File Upload Page appear. Please be sure that you have your documents saved onto your computer that you will be uploading. To begin, select the debt that pertains to the document that has been uploaded.
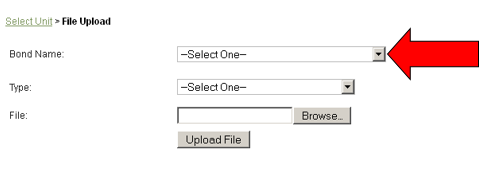
Next, you will select the type of file that pertains to the document that you uploaded. Statute requires that a copy of the official statement and bond covenant, if any, must be uploaded, other available options include: Authorizing Ordinance Resolution, Amortization Schedule, Proof of Publication, and other.

Once you click on browse, the following pop-up box should appear. Now you will need to think back as to where the documentation was saved on your computer. To view the location it was saved, please click on the “Look in:” drop down box to select the location, such as “Desktop” or “My Documents.” Next click on the file that contains the scanned image and it should now be highlighted in blue. The file name will appear towards the bottom of the page and you can now select “Open” to finalize your file selection.
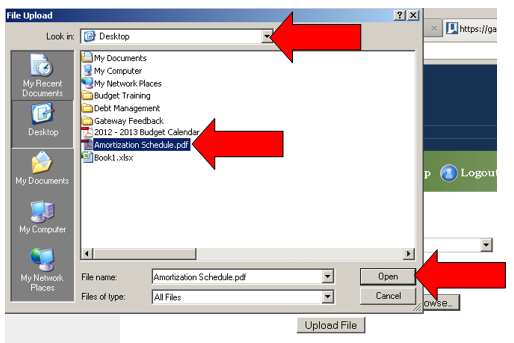
Your final step to upload the file is to click on the “Upload File” button on the bottom right-hand side.
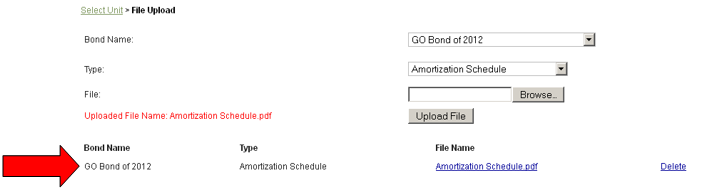
Now that you have uploaded your file, you will see the information along with a clickable link to the file appear below in the table. You are more than welcome to click on the blue underlined file link to ensure the proper file was uploaded. If you uploaded another file by mistake, an upload can be deleted by clicking on the “Delete” option on the right-hand side of the table.
Please
be sure to upload documentation for debt that is reported. To upload additional
documents, simply follow the same steps listed above.
Congratulations! You have successfully submitted your Gateway Debt Management debt report. If you have any questions, please email the Gateway inbox at gateway@dlgf.in.gov.
